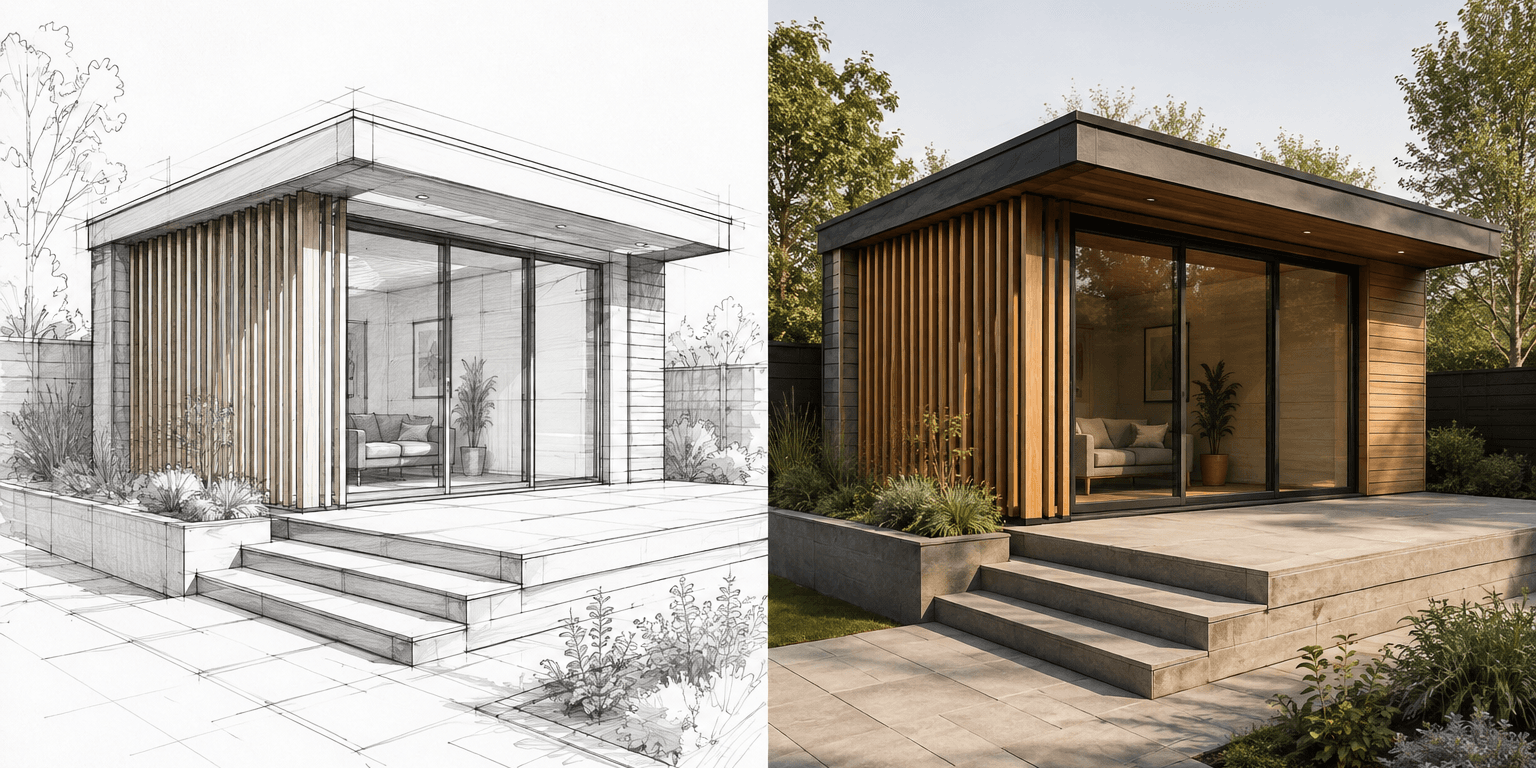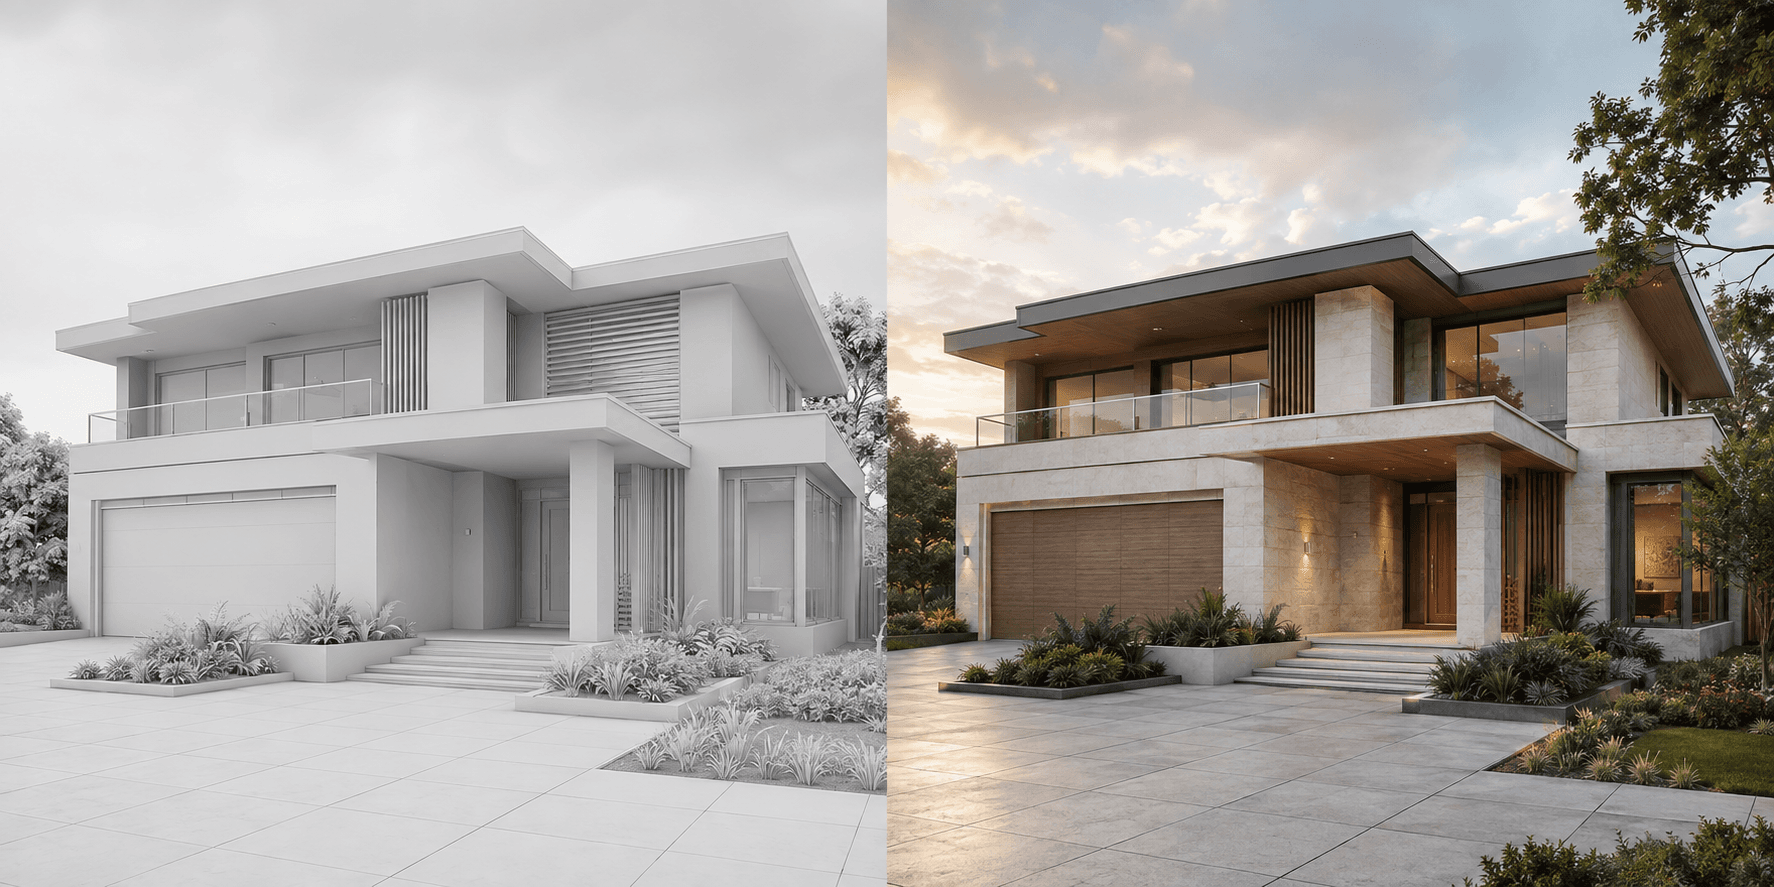
You do not need a fully textured and lit scene to create a useful architectural render. A clear screenshot from a 3D model can provide the geometry, proportions, perspective and camera position. The visualization workflow then adds material, landscape, light and atmosphere around that structure.
How should you choose the model view?
Begin with the decision or story behind the image. A three-quarter exterior view is useful for massing and façade materials. A straighter elevation-style view makes rhythm and openings easier to inspect. An interior camera should show enough floor, wall and ceiling to explain the room, without an extremely wide field of view that stretches the geometry.
Frame one view at a time. Trying to show every side of a building in one image usually makes the architecture smaller and the visual brief less specific.
What should be removed before export?
- Selection outlines, axes, grids, guides and modelling handles.
- Floating annotations or dimension text that covers the building.
- Temporary objects and context models that are not part of the proposal.
- Heavy viewport effects that hide the edges and openings.
A white or clay model can be an excellent source. The goal is not to simulate the final render inside the modelling application. The goal is to make the design information easy to read.
How do you write the rendering brief?
Describe what the viewer should see, not how an image model should behave. Name the principal façade or interior materials, the site character, the time of day and the overall level of formality. If something must not change—roof geometry, window layout, an existing wall or a specific view—say so explicitly.
Contemporary two-storey house, pale limestone and warm timber, restrained native planting, soft late-afternoon daylight. Preserve the roof form, opening positions and camera exactly.
Generate alternate material or lighting ideas as separate directions. A brief that asks for Scandinavian minimalism, dramatic luxury, rustic warmth and tropical planting at once gives the result no clear hierarchy.
What should you review in the result?
- Compare the overall massing and silhouette.
- Check roof edges, overhangs, openings and major junctions.
- Confirm that the camera and crop still explain the same view.
- Review material transitions and landscape elements for plausibility.
- Keep the model or drawing beside the image during approval.
The result is ready when it communicates the intended direction without asking the viewer to overlook obvious changes to the design. See the complete 3D model to render workflow for source requirements and examples.
Common questions
Does the 3D model need materials before rendering?
No. A clean white or clay-style model can work well when its geometry, openings and camera view are clear.
Can I use a screenshot from SketchUp, Revit or Rhino?
Yes. The workflow uses an image export or screenshot rather than a native model file.
What should always be checked after generation?
Review the silhouette, roof, openings, proportions, camera view and any feature that is important to the design.